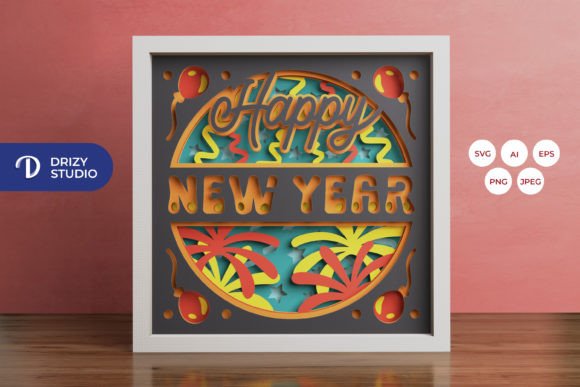
Happy New Year 3D Shadow Box: A Creative and Versatile Greeting Craft
The Happy New Year 3D Shadow Box is more than just a holiday decoration—it's a stunning piece of art that brings the spirit of celebration into your home or office. This layered, square paper-cutting template offers an elegant way to welcome the new year with creativity and style. Whether you're looking for a unique gift idea or a festive wall hanging, this design allows you to craft something truly special without needing advanced artistic skills.
What Makes the Happy New Year 3D Shadow Box Unique?
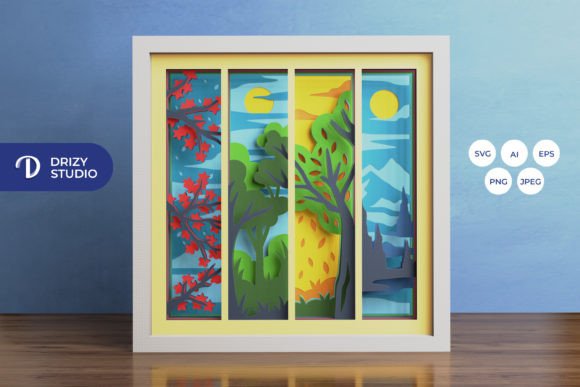
Unlike traditional flat decorations, the Happy New Year 3D Shadow Box features multiple layers that create depth and dimension when viewed from different angles. The intricate cut-out patterns allow light to pass through, casting beautiful shadows on the wall or surface behind it. It’s a blend of modern technology and classic paper-cutting techniques, making it both visually appealing and easy to produce at home.
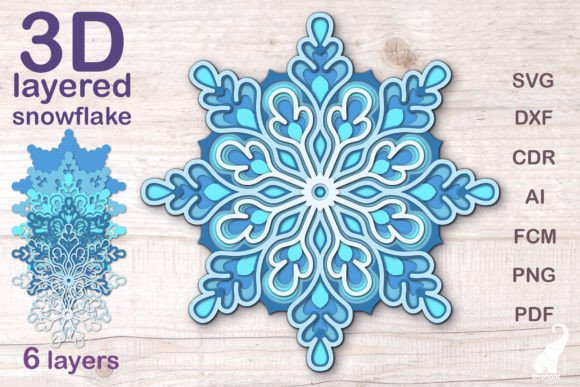
This design comes in a standard size of 20.32 x 20.32 cm (8 x 8 inches), which makes it ideal for framing or using as part of a larger project. With six distinct layers, the shadow box adds visual interest and complexity to any space. The layered effect enhances the sense of movement and perspective, making it appear almost like a miniature diorama celebrating the arrival of a new year.
Formats Included for Maximum Flexibility
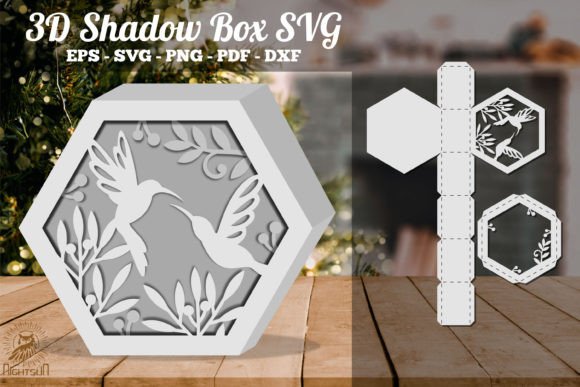
One of the standout features of this product is the variety of file formats included. You’ll receive the Happy New Year 3D Shadow Box template in AI, EPS, PNG, SVG, and JPEG formats, giving you options depending on your tools and needs. Here’s a quick breakdown:
- AI (Adobe Illustrator): Perfect for customizing colors and elements if you have Adobe software.
- EPS: Great for high-quality printing and scalable for large projects.
- PNG: Ideal for digital use or background images with transparent sections.
- SVG: Designed specifically for use with cutting machines like Silhouette and Cricut, allowing for precise layer cuts.
- JPEG (3000 x 2000 px): Useful for previewing the final look before crafting.
This flexibility ensures that both seasoned crafters and beginners can work with the design efficiently. If you don’t own a cutting machine, the template is also suitable for hand-cutting with an art knife and scissors. Just follow the lines carefully, and you’ll be amazed at how simple it is to bring this design to life.
How to Assemble Your Happy New Year 3D Shadow Box
Once you’ve cut all the layers, the next step is assembly. To put your Happy New Year 3D Shadow Box together, you’ll need glue or double-sided tape. Each layer should be placed one on top of the other, ensuring proper alignment so that the shadows cast are consistent and eye-catching.
Here’s a basic step-by-step guide to help you get started:
- Select your preferred paper color or material. Bright reds, golds, and metallic finishes are popular choices for New Year’s themes.
- Print or load the SVG file into your cutting machine. Make sure the aspect ratio remains unchanged during resizing.
- Carefully cut each layer using your chosen method—cutting machine or manual tools.
- Gather all the pieces and begin assembling them using glue or tape. Start with the largest piece at the back and work forward.
- Hang the finished shadow box on the wall or place it inside a frame. For a dramatic effect, consider adding LED strips between the layers to illuminate the shadows.
With these steps, even those who are new to papercraft can complete the design in under an hour. The satisfaction of creating something tangible and meaningful is unmatched, especially when it represents the joy of welcoming a new beginning.
Uses and Applications for the Happy New Year 3D Shadow Box
The Happy New Year 3D Shadow Box is incredibly versatile. While it’s perfect as a framed wall decoration, its potential doesn’t stop there. Here are some creative ways to use this design:
- Framed Artwork: Display your shadow box in a picture frame for a clean, professional finish. Choose a frame that complements your room’s decor.
- Lightbox Project: Turn the shadow box into a DIY lightbox by placing LED strips behind the layers. This creates a soft glow that highlights the 3D effect beautifully.
- Gift Packaging: Use the design as a decorative element for wrapping gifts. Attach it to boxes or cards for a personalized touch.
- Party Decorations: Hang several shadow boxes around your party venue for a cohesive and festive theme. They look especially nice when paired with balloons and confetti.
- Office or Business Space: Add a pop of holiday cheer to your workspace without being too over the top. It’s subtle yet effective for clients and visitors.
Because the design is scalable while maintaining its proportions, you can adjust it to fit your specific needs. Need a smaller version for a card? Or perhaps a larger one for a store display? The SVG format makes it easy to resize accordingly, ensuring your creation looks great no matter where it ends up.
Why Choose the Happy New Year 3D Shadow Box Over Other Decor Options?
In a world filled with mass-produced holiday decorations, the Happy New Year 3D Shadow Box stands out for its uniqueness and personal touch. Unlike generic store-bought items, this handmade creation reflects your effort and creativity. Plus, it’s reusable—simply store it in a safe place after the holidays and bring it out again next year!
Another advantage is its compact size. At just over 8 inches per side, it takes up minimal space but still makes a big impact. This is particularly useful for people living in apartments or small homes who want to celebrate the holidays without cluttering their walls with bulky decorations.
For educators or event planners, this design is also a fantastic teaching tool or activity for students or guests. It encourages fine motor skills, attention to detail, and artistic expression—all while keeping everyone engaged in a fun, hands-on project.
Factors to Consider Before Crafting
Before diving into your project, it’s helpful to consider a few key factors to ensure the best results:
- Paper Quality: Use sturdy cardstock or thin cardboard for durability and ease of cutting.
- Lighting Conditions: Remember that the shadow effect depends on lighting. Place your shadow box near a window or lamp to maximize visibility.
- Assembly Time: While the process is straightforward, take your time to align the layers correctly. Rushing may lead to misalignment and affect the final look.
- Color Variation: Keep in mind that the actual colors of your finished product may vary slightly from the preview due to differences in lighting and paper stock.
If you’re planning to make multiple copies—for example, to give as gifts—investing in a cutting machine can significantly speed up the production process. However, if you prefer a slower, more meditative approach, hand-cutting the design can be equally rewarding and therapeutic.
Perfect for a Variety of Occasions and Audiences
The Happy New Year 3D Shadow Box is not limited to just one audience or setting. Its appeal spans across ages and interests:
- Family Gift: Give it as a heartfelt gift to loved ones. Pair it with a handwritten note for an extra personal touch.
- Friendship Token: Surprise a friend with a custom-made shadow box as a symbol of your shared memories and hopes for the future.
- Corporate Event: Incorporate it into office holiday parties or client appreciation events for a professional yet warm ambiance.
- Classroom Activity: Teachers can use it as a fun and educational craft project to teach students about design, symmetry, and cultural traditions.
Its adaptability means you can tailor it to suit your needs. Add a name, date, or personal message to make it even more meaningful. This customization option elevates the design from a simple decoration to a cherished keepsake.
Getting Started with Your Happy New Year 3D Shadow Box
If you’re excited to try your hand at creating a Happy New Year 3D Shadow Box, here are a few tips to help you along the way:
- Watch online tutorials for guidance on assembling layered shadow boxes. Many creators share their techniques and tricks for perfect alignment.
- Use a ruler and pencil to lightly mark the positions of each layer before gluing. This helps prevent shifting and ensures accuracy.
- Experiment with different paper colors and textures. Metallic paper adds sparkle, while textured cardstock gives a tactile feel.
- Try backlighting with colored LEDs for a magical nighttime display. This works especially well in darker rooms or as a nightlight.
With a little patience and creativity, you’ll find that the Happy New Year 3D Shadow Box is a surprisingly satisfying project. It’s not only a beautiful addition to your space but also a testament to what you can achieve with a bit of imagination and the right tools.
Final Thoughts on Creating Your Own Happy New Year 3D Shadow Box
The Happy New Year 3D Shadow Box is a perfect blend of tradition and innovation. It captures the essence of the holiday season with its intricate design and celebratory theme, while also embracing modern crafting techniques that make it accessible to all skill levels.
Whether you’re an experienced crafter or someone who enjoys trying new DIY projects, this template provides everything you need to create something memorable. Its layered structure and shadow effects offer a dynamic visual experience that can transform any room into a festive haven.
So why wait for the holidays to start? Grab your materials, download the template, and begin crafting your very own Happy New Year 3D Shadow Box. It’s more than just a decoration—it’s a statement of joy, hope, and renewal for the year ahead.